99 Nights in the Forest: Beginner Guide – How to Survive Days 1–10
Spawning into 99 Nights in the Forest for the first time can be overwhelming. The forest is dark, something is out there hunting you, and the campfire feels like the only safe thing in the world. This guide covers exactly what to do from the moment you spawn through Day 10, so you can stop dying and start building toward Day 99.
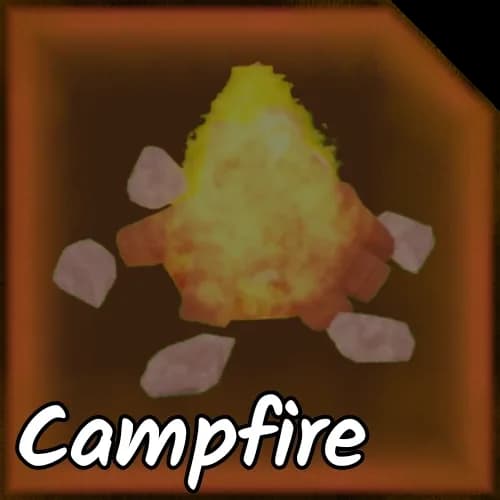
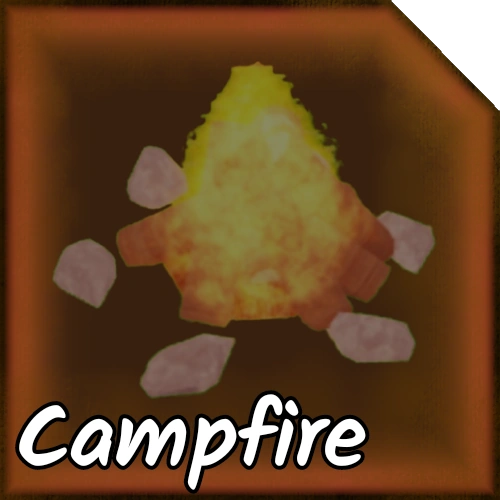
The Golden Rule: Keep the Campfire Burning
The campfire is your lifeline. The Deer — an unkillable monster with 25 damage and a walkspeed of 35 — will not enter the campfire's safe zone as long as the fire is burning. The moment the fire goes out at night, The Deer can walk straight to you. Keep feeding the campfire logs every day, and make sure you never leave camp with an empty fire overnight.
Day 1: The Moment You Spawn
Your first actions should happen in this order:
- 1Collect logs — chop trees near camp with your starting axe. You need at least 6 logs to fuel the campfire through the first night.
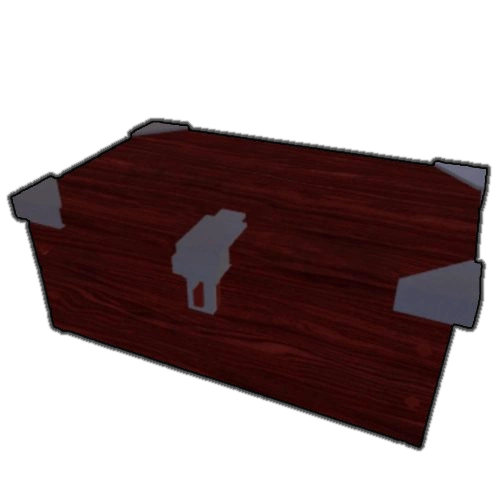
- 2Open every chest nearby — Common Chests spawn close to camp. They can contain Bandages, a Good Sack (+15 item slots), a Spear, Revolver with ammo, and sometimes a Diamond.
- 3Check for a Watchtower — Watchtowers always contain 5× Old Flashlights. Flashlights briefly stun The Deer, giving you an escape window at night.
- 4Eat something — your hunger bar drains constantly. Morsels (1 fork) are the easiest early food. Forage them or kill a Wolf (75 HP, 20 damage) for 2–3 Morsels and a Steak.
Understanding Your Inventory: Sacks
You start with an Old Sack that holds only 5 items. This fills up incredibly fast. Priority one for your first few chests is finding a Good Sack (15 items). Scavenger and Explorer classes both grant +2 sack space at Level 1. If you do not have those classes, a Good Sack from a Common or Good Chest is your most important early find.
What to Eat
| Food | Hunger Restored | Notes |
|---|---|---|
| Morsel | 1 fork | Drop from Wolves, Bears, most animals |
| Carrot | 1 fork | From farm plots, tames Bunnies |
| Steak | 2–3 forks | Drop from Wolves and Bears |
| Corn | 2 forks | Uncommon, from farms; tames Alpha Wolves |
| Cake | 2 forks | From farms |
The Crock Pot (15 Wood + 10 Scrap, crafted twice) makes Stew from meat and vegetables for a bigger hunger fill. You probably won't build one until Day 3–5, but plan for it.
Days 2–3: Explore and Loot
Now that you have survived Night 1, it is time to push outward. Keep these goals in mind:
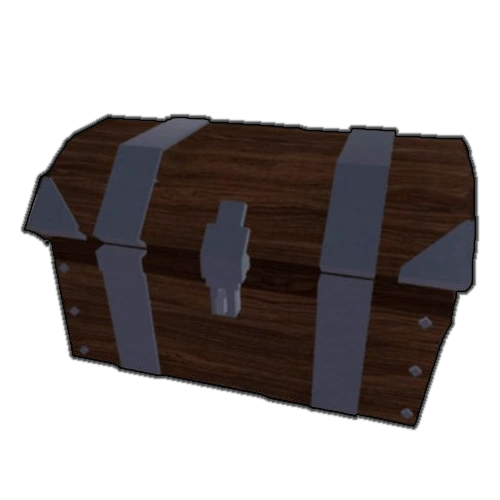
- Find a Good Chest or Iron Chest — Good Chests can drop Leather Body armor and a Revolver. Iron Chests add the Rifle (60–90 damage) and a Strong Flashlight.
- Upgrade your Crafting Bench — the Crafting Bench near camp starts at Level 1. Upgrading it unlocks new recipes like the Bear Trap (3 Scrap + 3 Scrap) and the Farm Plot (20 Wood + 20 Wood). Farm Plots grow food every 2 days, which is essential for keeping hunger topped off without relying on animal drops.
- Build a Map — craft it at the Crafting Bench with 3 Wood. Press M to view it. The map shows your campfire, biome locations, and key landmarks. It is cheap and mandatory for navigation.
- Scout your biome — when you load in, the game assigns you either a Snow Biome or Volcanic Biome as a secondary area (50/50 chance). Snow Biome has Polar Bears and the Ice Chest. Volcanic Biome has Scorpions and Hot Chests. Do not enter either biome yet — just locate it.
Days 4–6: Wolves and Bears
By now you should have a weapon. Wolves have 75 HP and deal 20 damage — manageable if you keep moving. Each Wolf drops 2–3 Morsels, 1 Steak, a Wolf Pelt, and a Red Key. Wolf Pelts can be traded with the Pelt Trader for better gear.
Bears are tougher at 350 HP and 40 damage. Wait until you have a Rifle or Spear before engaging. Bears drop 6 Morsels, 3–4 Steaks, a Bear Pelt, and both a Yellow Key and Grey Key. Bear Traps (craftable at the Crafting Bench) can soften a Bear up before you fight it.

Night Survival Tips
- Always have a flashlight equipped at night — when The Deer gets close, hit it with the flashlight beam to stun it briefly and run.
- Sprint back to camp before the transition — watch the sun position. When it starts getting dark, head home.
- Light the campfire before dark — log it up before nightfall, not during.
- Never go out alone without a flashlight on Night 1–3 — The Deer (walkspeed 35) is faster than your sprint if you have no movement buffs.
Campfire Upgrade: When and What
Getting from Level 1 to Level 2 requires: 6 Logs + 1 Coal + 1–2 Wood. Coal drops from Bears and is found in some chests. Do this upgrade around Day 3–4 to expand the safe zone radius and start unlocking better campfire interactions.
Level 3 is significantly more expensive (11 Logs + 2+ Coal + 2+ Fuel Canisters) but expands your safe zone further and unlocks the Taming Flute upgrade slot, letting you tame animals.
Days 7–10: Finding the Stronghold
The Cultist Stronghold is the biggest early-game objective. It spawns in a fixed location on the map, has 3 floors of Cultists to clear, and rewards you with a Ruby Chest, Diamond Chest (5 Diamonds), Cultist Gems, and a Gem of the Forest Fragment. It is also a safe zone — The Deer cannot attack you inside.
To survive the Stronghold:
- Bring a Rifle or Morningstar (if you found one).
- Have at least 2 Bandages or 1 Medkit.
- Clear floor by floor — do not rush upstairs while enemies remain below.
Completing the Stronghold by Day 10 will put you ahead of most players and give you the Diamonds to buy your first premium class upgrade.

Quick Reference Checklist for Days 1–10
- Stock at least 10 logs at camp before Night 1
- Find a Good Sack (15 slots) or Giant Sack (25 slots)
- Craft a Map (3 Wood)
- Upgrade Campfire to Level 2 (6 Logs + 1 Coal + 1–2 Wood)
- Build 2–3 Farm Plots for passive food
- Find or craft a Bandage
- Locate the Cultist Stronghold
- Clear the Stronghold and collect the Diamond Chest (5D)
- Identify which biome type you have (Snow or Volcanic)