Map Locations Guide – 99 Nights in the Forest (2026)
Understanding the map is the difference between a chaotic run and an efficient one. This guide covers every major location in 99 Nights in the Forest, what you will find there, and how dangerous each area is.
Tip: Craft a Map (3 Wood at the Crafting Bench) immediately on Day 1 and press M to view it. The map shows the campfire, biome borders, and key landmarks.
Your Base: The Campfire Area
Danger Level: Safe (while fire burns)
The campfire is your permanent safe zone. The Deer will not enter its radius while the fire is burning. Most Crafting Bench upgrades and the Taming Flute upgrade station are here.
Key features:
- Campfire (upgradeable to Level 6)
- Crafting Bench (upgradeable to Level 5)
- Farm Plot slots nearby for passive food
- Missing Children's tents appear here as you rescue them
Always keep 10+ logs stocked at the campfire before nightfall.
The Forest (Main Area)
Danger Level: Moderate (day) / High (night)
The primary exploration zone connecting all other areas. Common and Good Chests spawn throughout. Wolves (75 HP, 20 damage) and Bears (350 HP, 40 damage) patrol the forest.
The Watchtower — a tall structure — is a guaranteed find in the forest. It always contains 5× Old Flashlights, making it the single best early-game resource location. Find it on your first day.
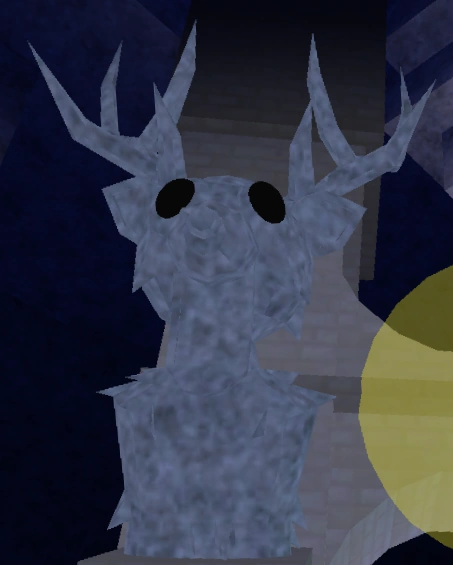
At night: The Deer (unkillable, walkspeed 35) is active throughout the forest. Carry a flashlight, plan your route back to camp, and never linger.
Cultist Stronghold
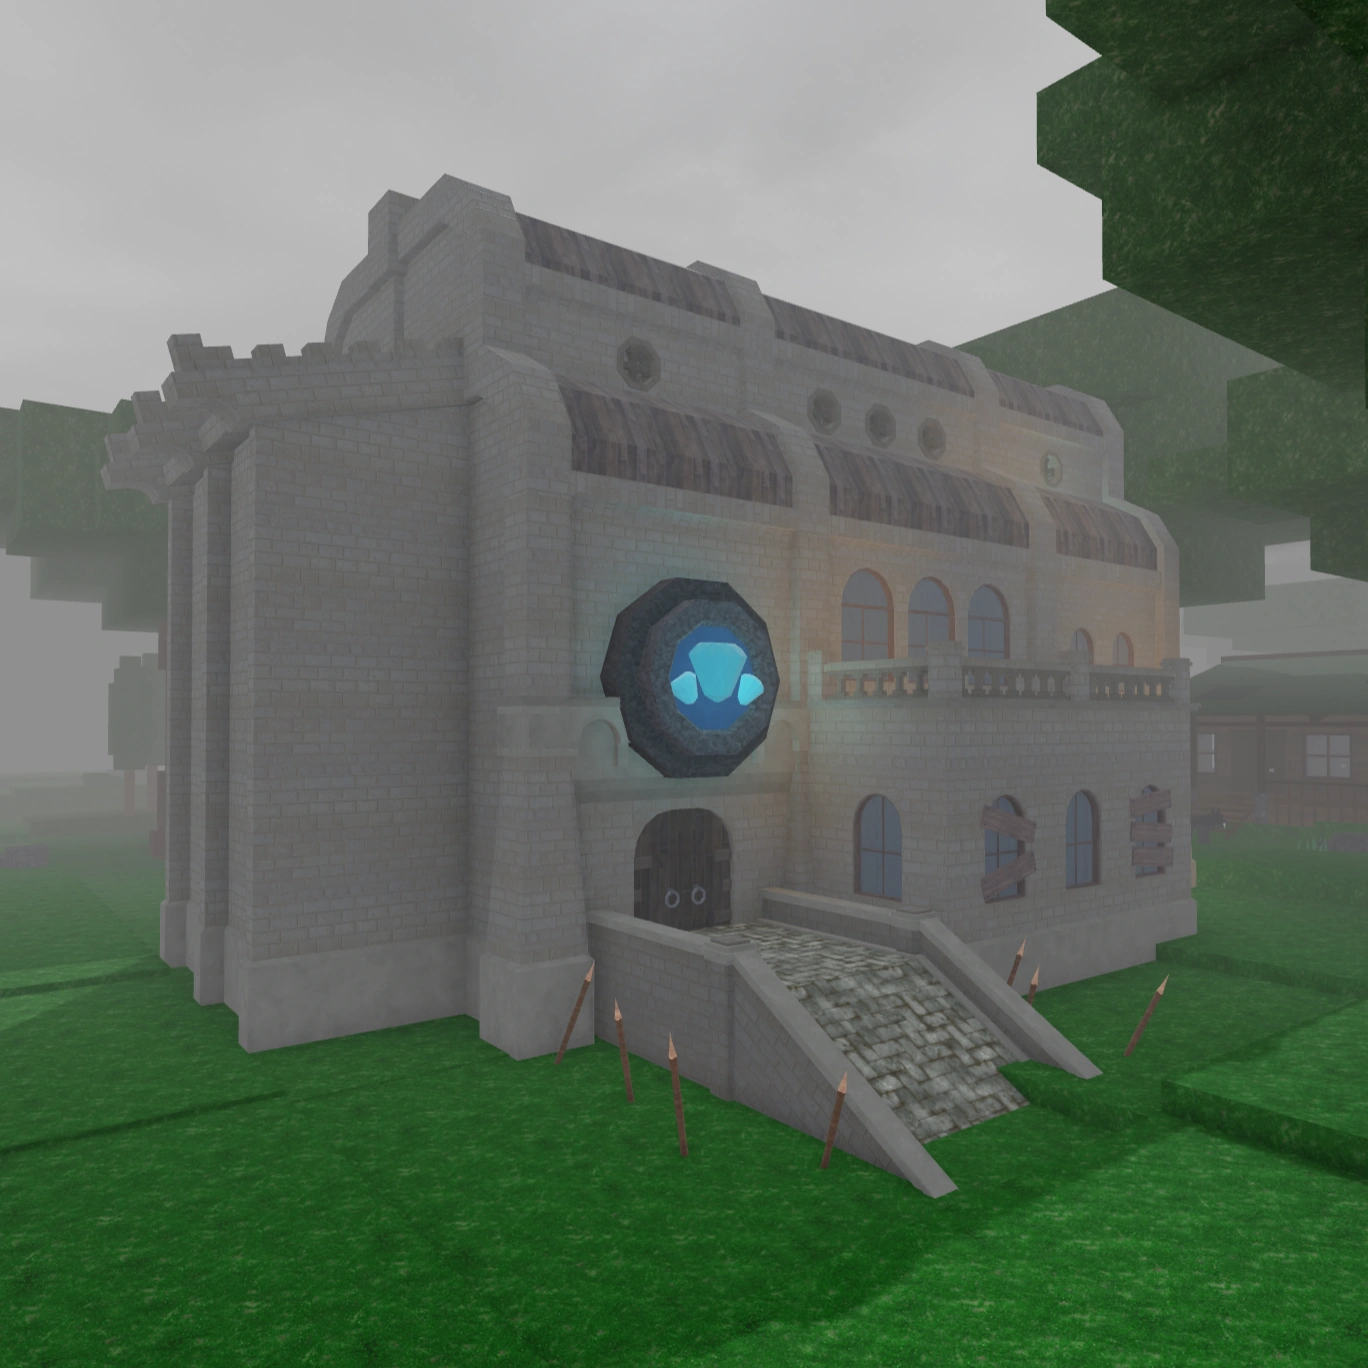
Danger Level: High (combat), Safe from The Deer
Location: Fixed position, visible on the map after crafting it.
The Stronghold is a three-floor structure occupied by Cultists (Melee + Crossbow Cultists per floor). Clearing it rewards:
- Ruby Chest (top loot: Tactical Shotgun, Kunai, Riot Shield, Thorn Body, Gem of Forest Fragment)
- Diamond Chest (5 Diamonds)
- Cultist Gems
- Infiltration badge (2★, 4D)
Important: The Stronghold is a safe zone. The Deer cannot attack you inside. If you are caught in the forest at night without a clear path home, sprint toward the Stronghold.
Run the Stronghold on Day 5–10, then return every subsequent run for loot resets.
Cultist Base and Laboratory
Danger Level: Moderate
These smaller Cultist outposts (Cultist Base: 4 Melee + 2 Crossbow; Cultist Laboratory: 4 Melee + 2 Crossbow) are easier than the full Stronghold but still yield Cultist Gems and occasionally good chest drops. Good for mid-game farming without committing to the full Stronghold run.
Biomes (One Per Run)
Each run randomly assigns you either a Snow Biome or a Volcanic Biome (50/50 chance). You cannot have both in the same run. Locate your biome early by exploring the map borders.
Snow Biome

Enemies: Arctic Fox (passive), Polar Bear (500 HP, 50 damage), Mammoth (800 HP, 30 damage neutral), The Owl (unkillable, 25 damage, walkspeed 45)
Key locations within Snow Biome:
- Polar Bear Cave — 2 Polar Bears + 2–3 Frozen Cultists; very dangerous; drops Polar Bear Pelts
- Ice Temple — steal the treasure for the Ice Sculpting badge (2★, 6D)
- Noseless Snowman — give it a Carrot for the Reconstruction badge (0.5★, 4D)
- Ice Chests — Ice Sword (35–45.556 damage), Ice Axe, Frozen Shuriken
Danger assessment: High. The combination of Polar Bears (500 HP, 50 damage), The Owl (unkillable), and Cold Chests not always having great loot makes this biome demanding. Wait until you have a Rifle and Iron Body armor before exploring.
Volcanic Biome
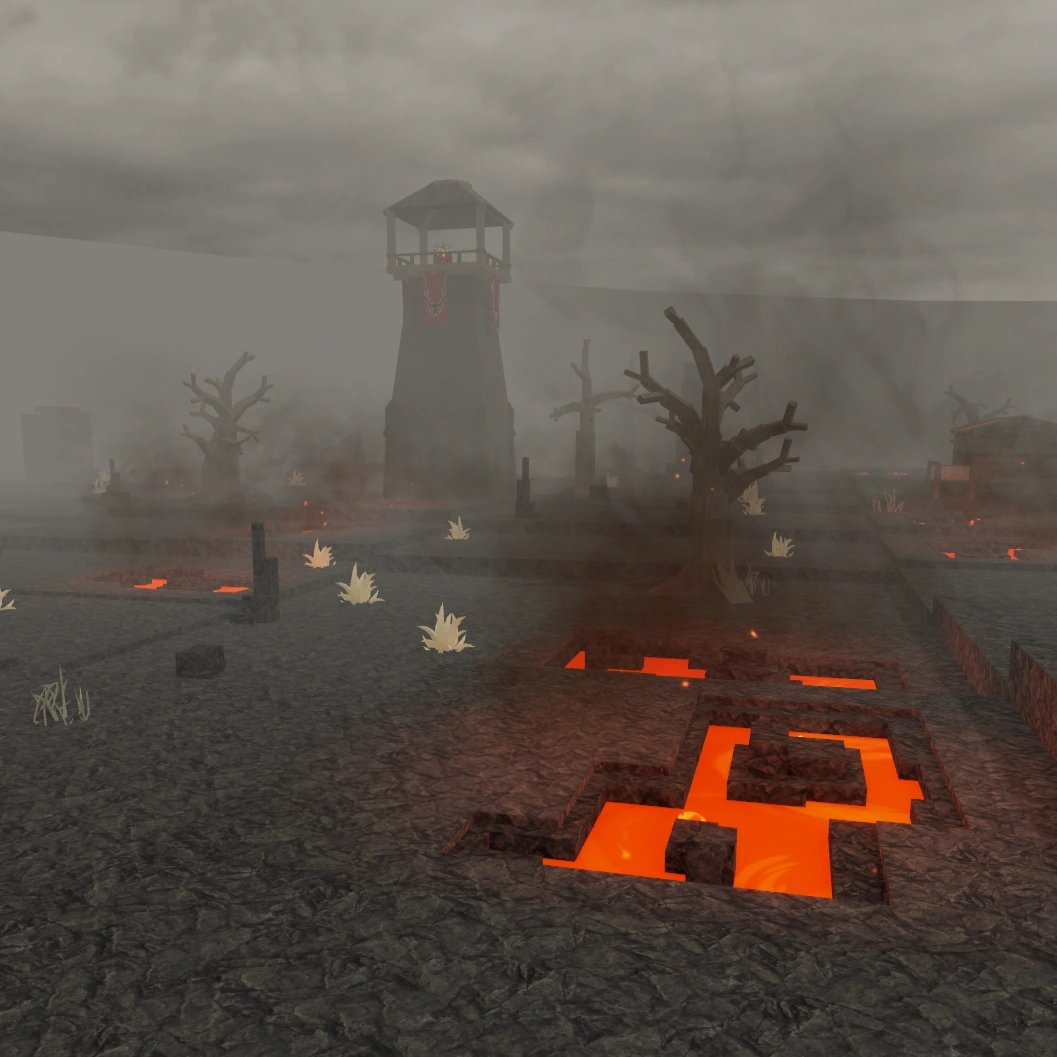
Enemies: Scorpion (50 HP, 20 damage), Hellephant (800 HP, 30 damage, hostile), The Ram (unkillable, 25 damage)
Key locations within Volcanic Biome:
- Hot Chests — Crossbow (30 damage), Wildfire grenade, Lava Mine Blueprint, Sacrifice Totem
- Ammo Furnace — craft ammo boxes; 50 boxes = Metalworking badge (2★, 5D)
- Volcano — deposit Cultists here for Volcanology badge (2★, 5D); drop dead teammates for Resourcefulness badge (1★, 5D)
- Red Spiked Chest — Infernal Sack (20 slots, instant-cooks meat in Volcanic area)
Oil Barrels spawn naturally here at campfire Level 5–6 — critical for the late campfire upgrades.
Jungle Biome
Danger Level: High
Always present (unlike the Snow/Volcanic biomes which are one or the other)
Enemies: Frog (various types), Boar (125 HP; tame with Corn ×1 + Morsel ×1), The Cat (unkillable, 78 damage, walkspeed 60!)
Key locations:
- Frog Cave — requires 8 Frog Keys; contains the Frog King boss and Frog Chest (Poison Spear, Poison Armor, Frog Boots, Blowpipe)
- Fight Pit — 5-wave combat challenge; completing it earns Dueling badge (2★, 4D)
- Mother Temple — place 4 skull keys in podiums for Archaeology badge (0.5★, 6D)
The Cat warning: The Cat has 78 damage and a walkspeed of 60 — the fastest and most dangerous unkillable entity in the game. If The Cat appears, retreat immediately. No amount of HP or armor saves you from a fast The Cat.
Caverns
Danger Level: High (The Bat is inside)
Added: November 2025
The Caverns contain four statue sections (The Deer, The Owl, The Ram, The Bat) and a Blessings system where completing challenges earns rewards. The Bat entity (35 damage, unkillable) lives inside.
- Blessings I badge: Complete one blessing (1.5★, 4D)
- Blessings II badge: Complete all blessings (2.5★, 4D)
Do not enter the Caverns at night or underprepared. The enclosed space makes The Bat hard to avoid.
Other Key Landmarks
Fishing Cabin
Gives 5× Old Rods free. Contains Fish Index Board for Trophy Fishing badge. Located near water.
Fairy Area / Big Tree
The Fairy sells seeds (Gardening badge, 1★, 2D if you buy). The Big Tree can be revived by making roots touch water (Bontany badge, 2.5★, 4D). Give the Fairy a flower bouquet (also give to Furniture Trader and Pelt Trader) for the Compassion badge (1.5★, 4D).
Pelt Trader
Accepts animal pelts in exchange for equipment:
- Wolf Pelt → Good Axe, Leather Body, ammo
- Bear Pelt → Iron Body, Rifle, Sacks
- Alpha Wolf Pelt → Guns, flashlights
- The 3rd trade tier unlocks the Rifle trade
Completing all Pelt Trader quests earns the Hunting badge (2★, 4D).
Gunsmith Shed
Sells or provides Rifles and ammo. One of the few places to reliably get a Rifle outside of Iron Chests.
Hard Mode Research Outpost
Contains MRE — the only food that fills your entire hunger bar in one use. Exclusive to Hard Mode.
Hedge Maze (Halloween Event)
The Hedge Maze appears during the Halloween event. Navigate to the end to find the Vampire Chest (Scythe 60–78 damage, Vampire Cloak, Bouncing Blade). Trick-or-treating houses earns Halloween-specific tokens (Rune Token: 1 house; Key Token: 5 houses).